


Making your very first home server can be a bit of a process, but it’s something that (should hopefully) pay off in the long run. It also makes for a rather fun project. After building a budget AM4-based home server, it was finally time to settle on an operating system.
Since this was primarily going to be used as a homelab, I decided to try out one of the many popular choices out there — Proxmox. Proxmox also happens to be very good at virtualization, which is something I wanted to try out as well.
One week later, and I can confidently say that this has completely changed how I viewed home servers. It’s surprisingly accessible and well documented, in addition to having excellent community support, and does just about anything I need it to.
Related
[HomeLab #1] I finally built the home server I’d been avoiding, and it changed everything
I finally understood the homelab obsession after building one myself.
Installing Proxmox on the AM4 homelab
An easy installation, but further customization can be frustrating
Installing Proxmox was relatively straightforward. All I had to do was download the v9.2 ISO file from the official webpage, and copy it over to my Ventoy stick. The PC immediately recognized the ISO from the Ventoy boot menu, and I chose the graphical version of the installer.
The process wasn’t all that difficult, although I did find myself stumped at the username selection process for a while. I still managed to make it though, and the whole process barely took a minute to complete.
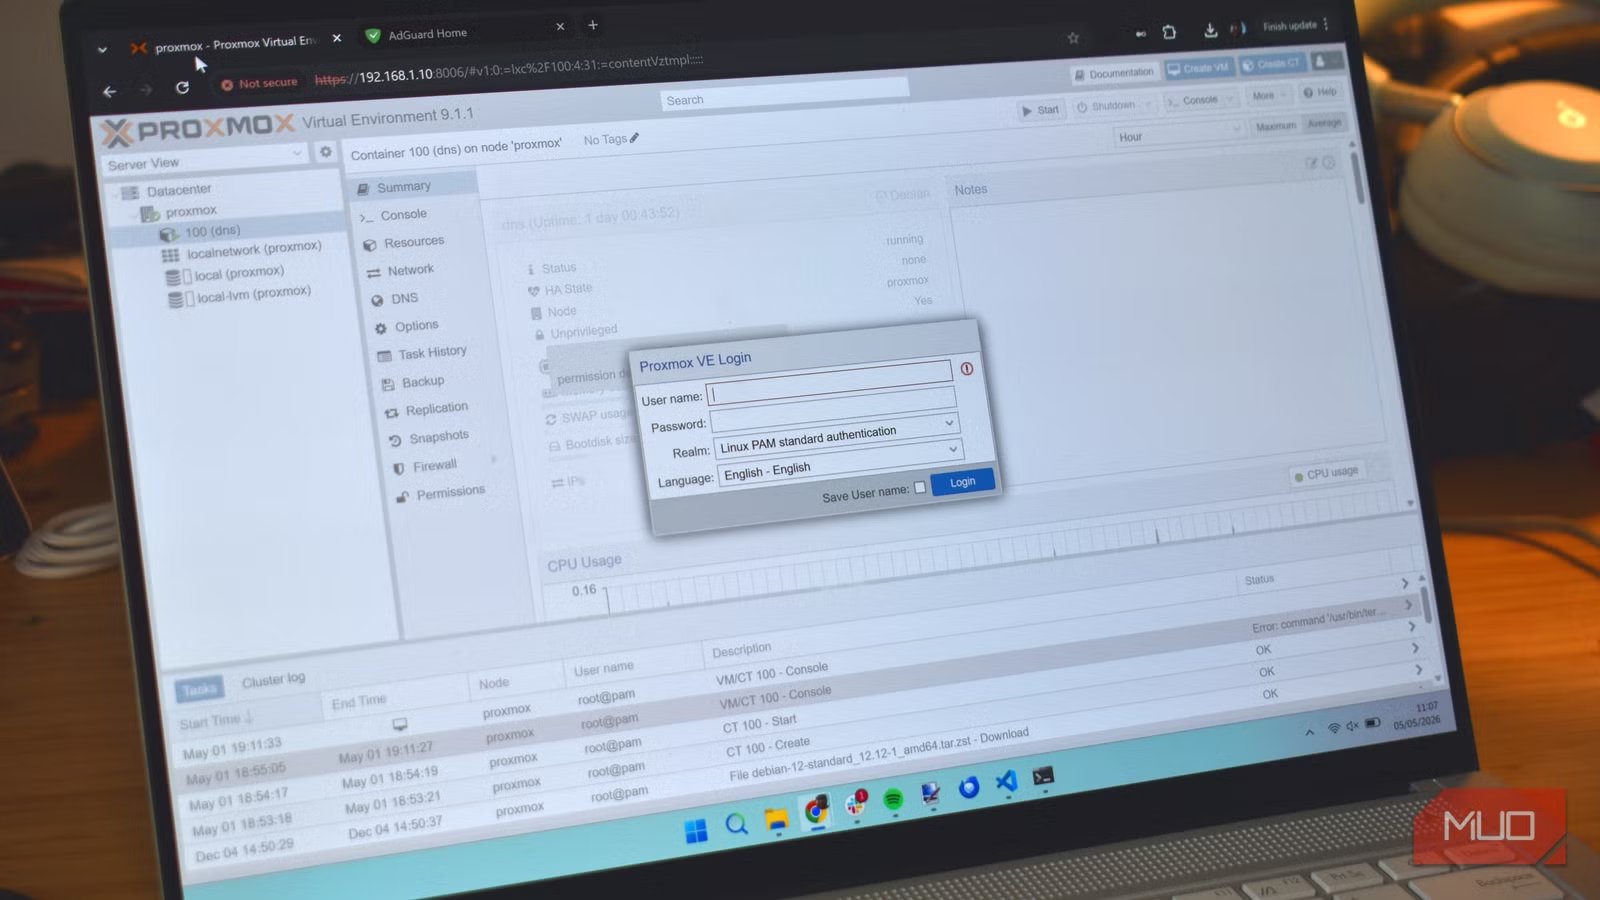
One reboot later, and I was thrown into the Proxmox login screen. After being thoroughly confused for a minute, I eventually made my way to the web UI, and was able to finally log into the system from there, using a root account.
What remained to be done was the system update. This was in no way an intuitive process, and I had to dig through and disable the Enterprise repositories (which are enabled by default for some reason) and then add in the regular repositories to finally gain access to the community servers, finally syncing the repos.
Regardless, one update later, and I was off to the races. Proxmox is based off Debian Linux, and uses the apt package manager. This also means that you can install packages as you would usually on Debian, and it isn’t immutable in any way. Installing programs like Fastfetch was a breeze, although Nvidia GPUs (once again) might need some additional tinkering.
Try out Proxmox as a Jellyfin server
Complicated but worth it
The first application I decided to try out was Jellyfin, a free and open-source alternative media management system. In other words, it lets you manage your media files easily using a rather intuitive web UI.
Unlike what you’d see on a containerized, regular media server, Proxmox creates a virtual machine you can install Jellyfin on. While it might seem unintuitive at first (after all, VMs do have a lot more overhead), it has a few advantages: namely in being able to run multiple things within that same VM, such as Samba sharing.
Installing Jellyfin on Proxmox was very easy and all I needed to do was pick the appropriate community-driven Proxmox VE Helper-Script.
This is a massive repository of one-line scripts/installers that will automate the whole process for you, and is easily the best part of Proxmox. These scripts are extremely powerful, and are very helpful to have as a beginner, and I can see why so many appreciate them.
Running the installer also presented me with the option to choose between Unprivileged and Privileged access, which is a fancy way of choosing to isolate the Jellyfin install from the rest of the system. I went with the unprivileged installer.
Jellyfin also fully supports Nvidia cards, and the installer detected my RTX A2000 correctly, offering to download and install drivers (within the VM, not system-wide, interestingly enough) in order to be able to use it. This includes full GPU hardware acceleration and things like NVENC.
The RTX A2000 also supports vGPU (another fancy term for splitting a GPU into multiple, virtual devices), which should let me run multiple instances at once, or allocate a part of the GPU to Jellyfin, while running something else simultaneously.
As for the rest of the installation, it went about as you’d expect, without any issues, and I’d like to take it for a spin for the next week and see how things pan out.
Notes for the future and more
Proxmox has been quite literally a game changer. I love the whole virtualization aspect, and it lets me do a lot more than just run apps in containers. I do intend on running a few virtual machines on this setup; Windows and Linux both.
That being said, it makes me wonder how far I could take the virtualization capabilities of Proxmox, especially when paired with a decent PC. Perhaps a project for another day.