


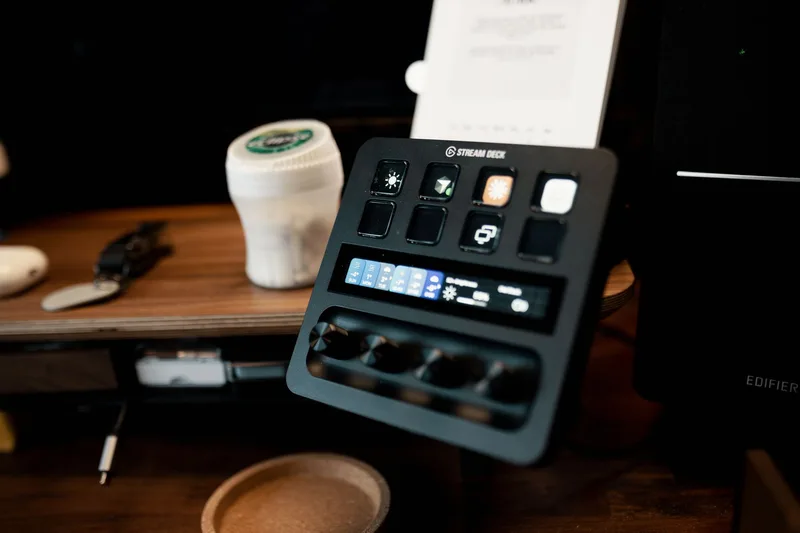
Stock photo via Pexels
Getting your first Twitch stream live is a two-part problem: the technical side (software, settings, encoder) and the presentation side (scenes, overlays, audio routing).
Both are solvable in an afternoon if you know which decisions actually matter and which ones beginners waste hours on.
TL;DR
You need three things before you go live: a Twitch account, streaming software connected to it, and at least one configured scene. Here’s the sequence:
- Create a free Twitch account at Twitch.tv
- Download OBS Studio (free, at obsproject.com) or choose an alternative
- Set your canvas to 1920×1080 at 60fps, bitrate to 6,000 kbps
- Connect OBS to Twitch via Settings > Stream > Service
- Build your scenes and sources
- Run a test broadcast before your first real stream
Step 1: Create Your Twitch Account
Go to Twitch.tv and click “Sign Up.” The account is free and requires only an email address. Choose your username carefully, it becomes your channel URL and your identity on the platform.
You can change it later, but streamers who rebrand early lose whatever word-of-mouth they’ve built.
Once your account is live, spend five minutes on your channel profile before you touch any software. Add a profile picture, write a short bio, and set your stream language. Two minutes. Your channel looks intentional rather than abandoned.
Step 2: Check Your Internet Connection
Twitch’s official FAQ recommends that your upload speed be at least 30% higher than your target stream bitrate. Streaming at 6 Mbps means you need roughly 8 Mbps of upload headroom.
Run a speed test before configuring anything, if your upload sits below that threshold, streaming at lower settings beats dropping frames mid-broadcast.
A wired ethernet connection is strongly preferred over Wi-Fi. Packet loss is the enemy of a stable stream. Wi-Fi introduces variability that ethernet eliminates.
Step 3: Choose Your Streaming Software
Three options dominate the space, and they serve different use cases.
OBS Studio is the standard. It’s open-source, completely free, and runs on Windows, Mac, and Linux. The learning curve is real but surmountable, every major streaming tutorial uses it as the baseline, and the community support is enormous.
Streamlabs OBS is a reskinned version of OBS with a simpler interface and built-in alert integrations. New streamers who find raw OBS intimidating often start here.
Meld Studio is a newer option positioned as the cleaner, more streamlined alternative. One tutorial describes it as “the Apple of streaming software”, fewer options, but the ones that exist are better organized.
Worth considering if you want a simple setup and don’t need deep customization.
A fourth option, Stream Suite by Adom (downloaded from adom.tv), installs as a plugin inside OBS and adds multistreaming and vertical streaming support pre-installed. It suits streamers who plan to push content to multiple platforms simultaneously from day one.
For most beginners, OBS Studio from obsproject.com is the right call. Everything below assumes OBS.
Step 4: Configure Your OBS Settings
Open OBS and go to Settings > Video. Set your canvas resolution and output resolution both to 1920×1080, and your frame rate to 60fps. Twitch now supports up to 1440p, but 1080p60 remains the practical sweet spot for anyone not on a top-tier upload connection.
Next, go to Settings > Output and set your video bitrate to 6,000 kbps. For your encoder, choose NVENC if you have an Nvidia GPU, or the AMD encoder if you’re on an AMD card.
Hardware encoding offloads the compression work from your CPU, which directly reduces frame drops and lag during gameplay. Software encoding (x264) is a fallback for systems without a compatible dedicated GPU.
Then go to Settings > Stream. Set the service to Twitch, then click “Connect Account” and log in with your Twitch credentials. OBS will authorize the connection.
Two docks appear after you connect: one showing your stream information (title, category, tags, go-live notification) and one showing your stream chat. Both update in real time without needing to open a browser.
Step 5: Build Your Scenes and Sources
OBS organizes everything into scenes and